Making My First Site
Making My First Site (This One)
This was a crash course into how to code with Markdown then use a static site generator and theme to build the code and then how to get it online. I went through a couple key stages to get here.
-
Installing Jekyll
-
Updating Ruby
-
Updating RubyGems
-
Using Jekyll
-
Generating default Jekyll Site
-
Getting my post into Default Site
-
Applying a theme
-
Generate theme site
-
Customize theme
-
Boom! It’s beautiful!
-
Upload to domain
Installing Jekyll
First, what is Jekyll. Jekyll is a static site generator that will take .md posts, a theme and generate the html and css necessary to launch. Jekyll required several things to install:
- Ruby 2.0 or higher
- RubyGems
- GCC & Make
(Image of Jekyll install reqs)

I started with Ruby:
Ruby
Jekyll required Ruby 2.1 or higher. My Ruby was at 2.0 so I needed to update… So, I went to Ruby’s site to figure out how to update for mac.
I visited the install page.

They say use Homebrew for Mac OS X so off to their site…

Clear and easy documentation.
Install Homebrew….

Boom! Ruby updated to version 2.4.2!

RubyGems
Now to check the RubyGems…

Initially had a minor hang up until I learned about Sudo…
Looks like I’m all good!

What I learned
- What package managers are and how to use them in terminal.
- How and when to use the
sudocommand. -
How and what to google to learn about any fixes or workarounds needed.
Using Jekyll
Now that Jekyll is installed, I need to figure out how to generate a site with it. I found a nice tutorial that walked be through setting up a default site and then how to apply a tutorial.
Generating Default Jekyll Site
To see how Jekyll worked I ran the command jekyll new…

The site was created, I changed to that directory and ran the command jekyll serve…

I excitedly visited the site…

Success!
Getting My Post into Default Site
I had a default site, but now what?
I started to explore the contents of the default site…

I removed some things and observed what they did…

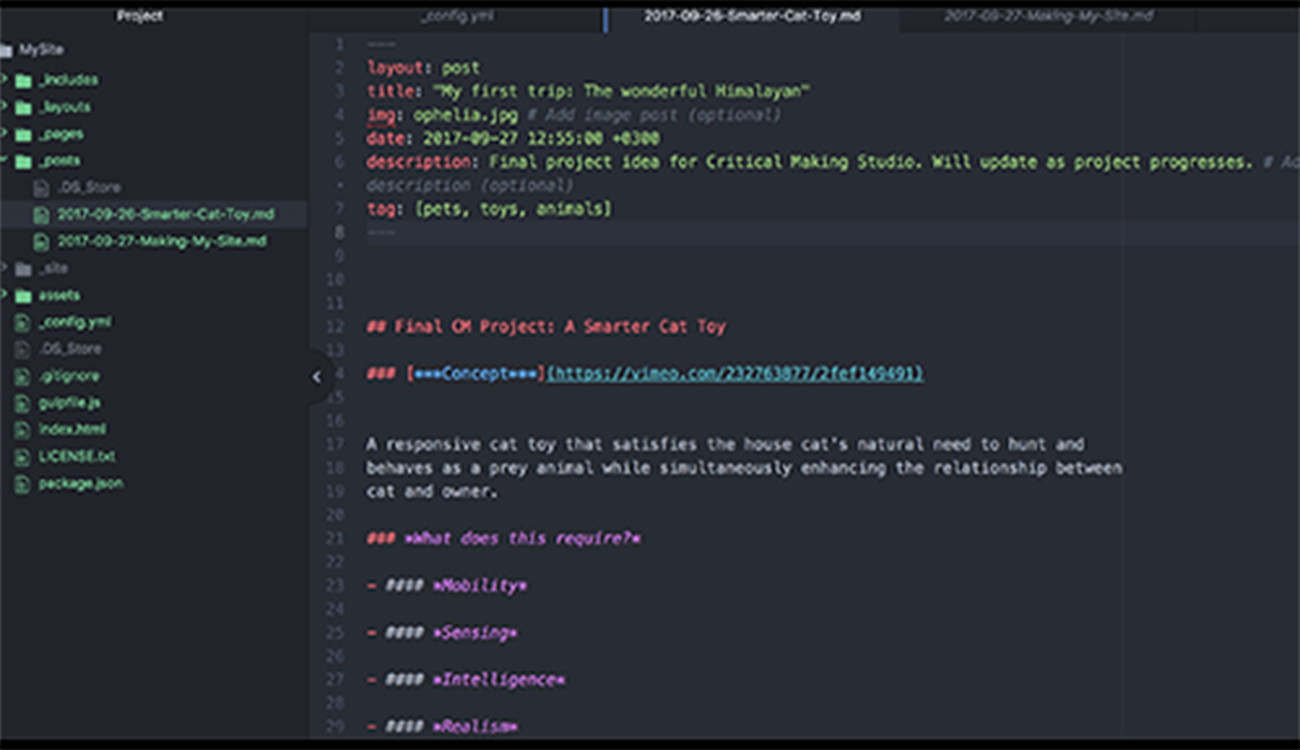
and after some guidance from a teacher and some classmates was able to place my own post in the default site.

Awesome. Now to apply a theme and make it pretty.
What I learned
- How web pages are generated.
Applying a Theme
Continuing with the same tutorial I began to investigate themes. A swift google of Jekyll Themes took me to http://jekyllthemes.org. Perfect.
I scrolled through the options and landed on Bef.

It was perfect with a large front image and nice graphical organization for the posts. It also was very simple with only two additional pages.
Now how to customize it. Back to following the tutorial…
I downloaded the theme and checked out it’s contents. Very similar to the Jekyll default site but with more stuff.

In terminal, I navigate to the Bef theme directory and run jekyll serve again…

It ran just like the default site and when I check out the local host page there is the theme…

Now I get it. I just need to customize the theme.
Customize Theme
Continuing to follow the tutorial, I deleted all the default content that came with the theme.

Realized that I deleted too much and put some back.

Next I had to modify the _config.yml file.

It took a lot of googling to figure out what everything was and trial and error to correctly modify this key file.

Enter jekyll serve success! Site is starting to look more like mine.

Next I imported my images and my posts and excitedly hit refresh. But a post is missing…

Sh$t!
Google did not help too much but when I examined the other posts I noticed they had syntax at the top that must be what Jekyll read to know where to put it.

I added and modified the Syntax to reflect the post. Saved, and once again eagerly hit refresh…

Yes!!
It worked. Now to deploy my site onto my domain. I should just be able to upload the ._site that Jekyll generates right?
What I learned
- How static generator themes work.
- How to read a theme layout and modify it.
- How to edit and customize a config.yml file.
-
Improved ability to read and edit html.
Upload to Domain
I had been using Filezilla to transfer initial files to my domain. I dragged the ._site file to the public_html file and watched excitedly as each file uploaded rapidly.

I brought up my browser, typed in the domain and…

Double Sh$t!
I had no clue why the .css files and images seemed not to be working. I consulted a couple classmates about it and they pointed me in the right direction. The paths in index.html that pointed to the .css files and the image files all shared a common mistake in the path.

After struggling with this problem for a couple hours and getting this close…

I asked my professor. He solved it very quickly of course. It was a setting in the config file called baseurl. I had it set to StudioSite and it needed to just be set to /. I made this edit and with bated breath, once more hit jekyll serve.


Blissfully sweet success!
What I learned
- How to use Filezilla.
- How to navigate the back-end of my site.
- The impact of baseurl.
