Bits to Atoms: Soap Dish
Bits to Atoms: Soap Dish
Our first 3D printing assignment in Critical Making. We could create anything we wanted as long as it was not larger than 4”x4”x4”.
I am almost out of hand soap in my bathroom and would like to switch to bar soap (it’s cheaper) so I need a soap dish. Perfect thing to 3D print.
I wanted to design it from scratch in Rhino so that I could learn to use Rhino and learn I did. As you will see, it will take a couple attempts to get it right.
Version 1
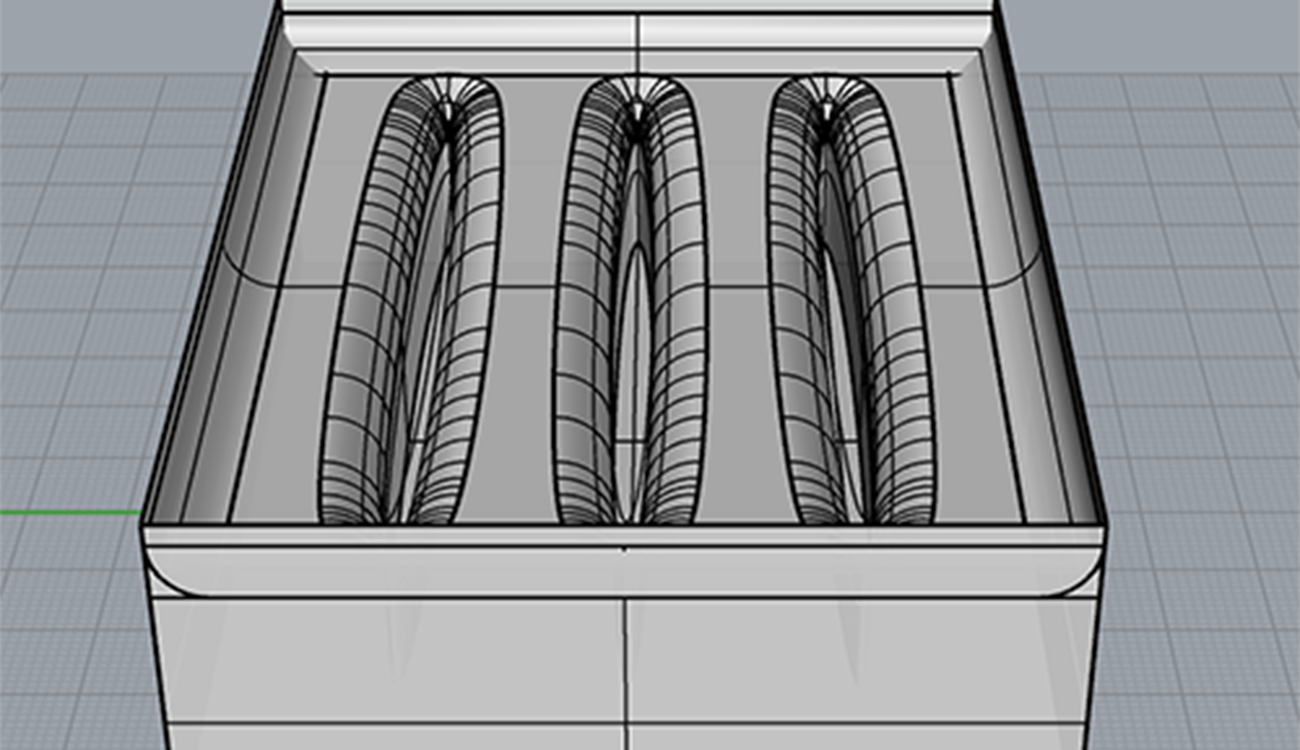
So for my first attempt I started with a blank Rhino file using the template for a small object in mm. It took a few tries and some googling to get there.
Soap Dish-FIrst Attempt from Jim Murphy on Vimeo.
The file looked good in MeshLab and in Cura. I exported into .gcode and initiated the 14hr & 41 minute print.
Upon my return something looked off. There was a block of material on the top that I didn’t think should exist. I snatched it and brought it home.
Soap Dish-Final Output from Jim Murphy on Vimeo.
I started to peel the support material off and the dissolve the rest.
Removing Support Material from Jim Murphy on Vimeo.
This was the end result later that night…


It was not exactly what I envisioned. Something in my design was off. But, maybe I could salvage this one? There was a bunch of material inside that was falling apart. If I could take that out…

That…did not work.

It ended up tearing the top of the dish right off. I would need to redesign but I needed to figure out what I did wrong first. I think it has something to do with the holes and the extrusion of the upper walls.
Version 2
This time around I made a couple different moves in the design of my model.
- I extruded the curves, rather than the surface.
- I merged the extruded surfaces with the rest of the model.
- I shortened the holes to just enough to be through the top.
- Gave the surfaces thickness.
Soap Dish-V2 from Jim Murphy on Vimeo.
I took this redesign to class with me and realized it would still not work. As you can see at the very end of the video, when I put the model in Cura, it still created this strange solid on the top instead of the upper walls with a fillet to the top surface. It took a lot of experimentation, including what turned out to be an unnecessary redesign again.
Version 3
I did not make a video for this attempt as it would be very very long. Hours of messing with the model and a complete redesign where I used the Boolean functions to separate a face from a solid then move that face down. This did not make a difference.

As you can see from the Cura layer view there was still a rectangular solid on the top of the model where the upper walls should be.
I was out of ideas. I decided to just start deleting elements then seeing if that would work. This was where I found my solution, and as luck would have it, the first thing I tried deleting was the solution. It was the filleted sides & holes.
As soon as they were deleted the model seemed to work in Cura.

The mysterious solid appeared to be gone and the walls clearly visible. The next step will be to print.
I will update after printing of V3